Monday, September 27, 2010

Putting to Bed

The day after Ungardening is the Putting to Bed day. Now with the raised beds, we are going to try a little no-till lasagna gardening. Tim was mulching leaves in the lawn, and he rounded up quite a pile with the mower. I went out with the sucker/blower, and chopped them further, using two bags per bed. I think this looks very cozy and almost pretty with the golden brown leaf mulch. And, if I had not just spent half an hour blowing leaves OUT of the garden, I would have been tempted to leave the beds like this. But, I know better, and soon these chopped leaves would have been mixing with our fresh gravel. So, as I laid them down I watered them with the hose.


Then we rounded up Mike, and got out the little tractor for some more mulching. The gates were carefully measured so that the smaller tractor, complete with belly mower, can fit through with a little room to spare. We used up about half of our composted horse manure, throwing down a layer of an inch or so to hold the leaves in place, and get the composting started.


When we were done, it was not quite so pretty, but our beds have been replenished with organic matter, and should be ready to plant in the spring.


And now a little word about pests. This was my view out the window in the morning... 5 turkey jakes, and our truant fawn. He is the child of a doe who just wreaks havoc on our landscaping. Most of the summer I saw him with his grandmother and her two fawns. But quite often he would run through on his own. Why? Because his mother, the no good floozy, was busy wandering about eating my perennials and being a lousy parent. And still he's up to no good, running with the bachelor turkeys. His mother has a price on her head this season. And I expect nothing but trouble in the future from this little guy.


Saturday, September 25, 2010

Rototiller and the Marigold Stomp

Today was the big day for "Un-gardening". The tomatoes came out, and everything got cleaned up in preparation for the war against the falling leaves. In the past, this was a pretty labor intensive day. Neighbor Mike and I would roll up the 200 feet of no climb horse fence. Tim and I would pull the T-Posts with the bucket. Then, the rottotilling would begin. The rottotilling was actually the easy part since we had a 5 foot PTO driven tiller for the smaller tractor. But, the rolling of the fence alone diminished the benefits of the tractor tilling.


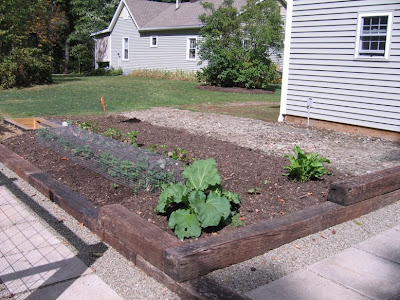
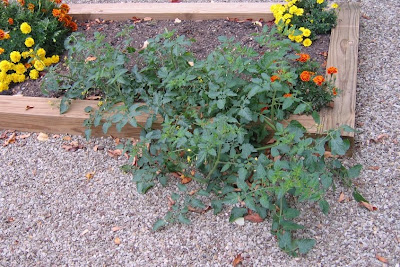
The garden was beginning to look a little rough with bacterial spec taking over several of the tomato plants, and leaves littering the walk. I started last week picking green tomatoes, and there are 
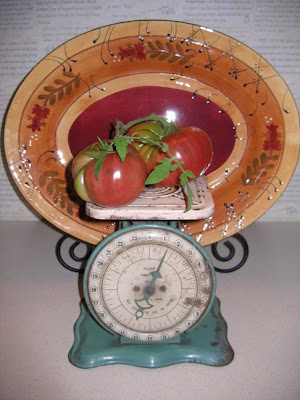
ALOT of them. Although they have stopped ripening on the vine in this cooler weather, they will continue to ripen in the dark after you pick them. The ones that don't get made into fried green tomatoes (my favorite dish while watching football) should be individually wrapped in newspaper so they will ripen, and you can continue to enjoy tomatoes for a couple of months. My mother has been known to stretch her tomato season as far as December!


First I went through and removed all of the twisty ties and tags. Next, you pick whatever you intend on saving. Then I began a vigorous pruning, removing all the foliage until all I had left were tomato trunks inside the supports. After the supports were removed, we pulled the roots out. I took the poles out of the pole beans, leaving large, spineless, blobs of foliage.


We filled the tractor bucket with most of the tomato waste and put that on the burn pile. The beans, clover, marigolds, and basil were destined for the compost pile. We have filled this compost tube several times this summer, and it breaks down at an amazing rate leaving plenty of head room. Here's a picture of Tim doing the "marigold stomp" trying to get the last wheelbarrow in. We have plenty of rain fore casted for this week, and I guarantee that tube full of garden trimmings will be reduced by half in a week.


We tried out best to rake up all of the fallen tomatoes, but I guarantee you there will be plenty of Sungold volunteers next year, just like this one which popped up in Mike and Shelly's cucumber bed mid-summer.


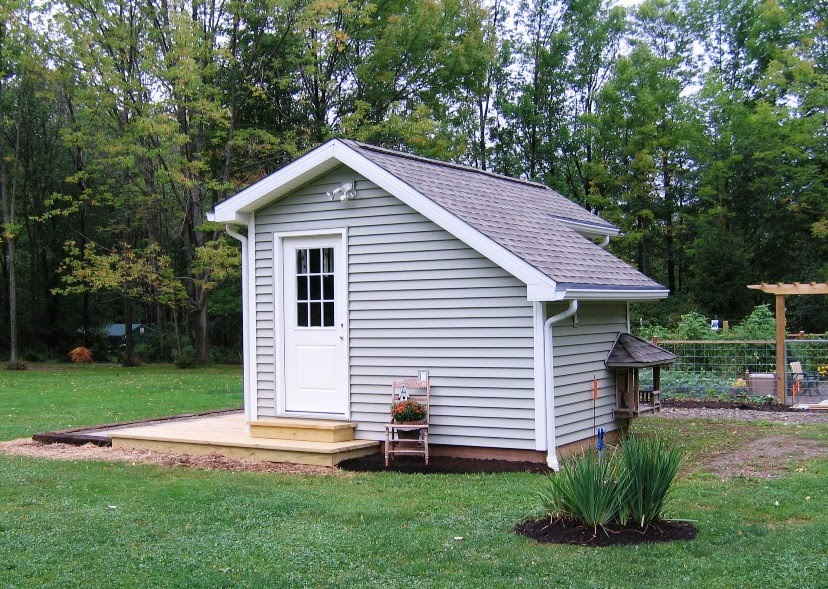
When it was all said and done, we were left with a row of parsnips and my fall garden which consists of beans, peas and carrots. I also have half a bed planted with lettuce that is just beginning to poke through the soil.


The garden looks much bigger with all of the beds empty.


Even with the garden gone, we now have to deal with a glut of produce. The best recipe to cope with this is Ratatouille which combines tomatoes, eggplants and summer squash among other things. Really it's a perfect dish for a day like this. Tim calls it "Rototiller" which is a pretty descript name since you chop up everything you find in the garden before you run the tiller through. I mean, what else do you do with a dozen Little Fingers eggplants?


My mother is very good at dealing with these garden combinations. She makes the recipes up as she goes, and she can turn this menagerie...


Into a meal like this....


And furthermore, her husband has adventurous taste buds, and he will eat it.

So for anyone who's interested, here's a recipe for ratatouille. Tim is getting reheated stew for supper, and I'm off to try my hand at frying stuffed squash blossoms!

Ingredients
2 onion, sliced into thin rings
3 cloves garlic, minced
1 medium eggplant, cubed
2 zucchini, cubed
2 medium yellow squash, cubed
2 green bell peppers, seeded and cubed
1 yellow bell pepper, diced
1 chopped red bell pepper
4 roma (plum) tomatoes, chopped
1/2 cup olive oil
1 bay leaf
2 tablespoons chopped fresh parsley
4 sprigs fresh thyme
salt and pepper to taste
Directions
Heat 1 1/2 tablespoon of the oil in a large pot over medium-low heat. Add the onions and garlic and cook until soft.
In a large skillet, heat 1 1/2 tablespoon of olive oil and saute the zucchini in batches until slightly browned on all sides. Remove the zucchini and place in the pot with the onions and garlic.
Saute all the remaining vegetables one batch at a time, adding 1 1/2 tablespoon olive oil to the skillet each time you add a new set of vegetables. Once each batch has been sauteed add them to the large pot as was done in step 2.
Season with salt and pepper. Add the bay leaf and thyme and cover the pot. Cook over medium heat for 15 to 20 minutes.
Add the chopped tomatoes and parsley to the large pot, cook another 10-15 minutes. Stir occasionally.
Remove the bay leaf and adjust seasoning.

Thursday, September 9, 2010

The Garden Shed

The Garden Shed / Chicken Coop is finished. Tim and I each have one part of the project left. His is the chicken fence, and mine is the window shades in the garden shed to keep it cooler in the summer.

So here is the Before when we moved it from the house next door (that we sold to Mike and Shelly):


And the After:


It has doubled in size, and Tim has finished the walkway and the deck so that we don't have mud splashing up on the siding, and we aren't tracking in all kinds of dirt. You can't imagine how much dirt sticks to dewy work boots. Because of the electric lines being dug in, there has been a nice patch of dirt right in front of the door for months.


See the apple tree in the tube in the foreground? That is one of the scions I sent down to Horse Creek back in the spring of 2009. It is growing by leaps and bounds and we had to add to the tube to keep the deer from trimming it. The second one is in the foreground of the picture below and is growing, but not as vigorously.


The gravel right behind the shed will be part of the chicken run, and the mulched area is my "perennial foods" garden where I relocated my strawberries, rhubarb and horseradish. Next spring I will add a row of asparagus. I decided to leave my first asparagus bed where it was to see if it can't make a go of it since it seems to be improving now in year 3. The Rhubarb has more than quadrupled in size since transplanting, and the Horseradish has come back to life.

Tim went above and beyond the call of duty inside the shed. We chose maple cabinets from the discount outlet and bought a small refrigerator which is great for storing "excess produce". Aside from a few cucumbers, it mostly holds beer, wine and mixers. It does make it nicer to grab a refreshment when working or socialising outdoors, and cuts down on the foot traffic in and out of the house.


Tim removed the center of the face frame and reattached it to the right hand door so the base cabinets open all the way making it easier to tuck all my larger items away.


The long handled tools are hung on the opposite wall, and the third wall has commercial shelving for storage of tomato ladders, window boxes and other plant supports.


I have a few neat garden collectables to display in here, but we haven't gotten around to cutseying it up yet.

Tuesday, September 7, 2010

Late Summer

Gardening is beginning to wind down for me this year. Our friends who had planted potatoes and winter squash are reporting record yields. One gardener says that his wife is weighing their potatoes at a little over 4 pounds a piece! I can't wait to see one.

My artichoke has blossomed. There is only one flower on this one. There were two other chokes started on the stem, but I didn't fuss over watering it, and they dried up. It is still a garden oddity, and visitors have enjoyed seeing what an artichoke looks like in "it's natural habitat".


The tomatoes continue to produce, with the Black Krim being one of the steadiest throughout the season.


This was my first year for Dr. Wyche, and this tomato will be my standard favorite for orange fruit. I see no reason to look any further. I prefer the taste over the Kellogg's Breakfast variety I grew in 2008, and they are not as large as the Kellogg's, and more to my liking.


The fall planting of peas, beans and carrots is doing outstanding. The beans are flowering, and the peas already have formed pods on the Maestro vines. They've even inspired the nasturtium to rally and bloom again. My first planting of bush beans, has continued to produce steadily. The past two weeks, I have often gone out to find that all of a sudden I need to pick and freeze beans. There are a little over two dozen plants still producing, and I've left them even though they are sprawling at the foot of the sunflowers in a miserable mess. In a few days they will be done, and the new planting will be on the verge of producing. That made just about perfect timing.


My sunflowers are over 10 feet tall. While I loved how they worked in the cucumber and bean bed, I think next year I will choose a shorter variety! I've had to go in there and lop off the spent stalks just to restore order.


This past Labor Day weekend, I made another larger batch of the wild plum jelly. After eating it for a few days, Tim proclaimed it was a little hard to spread. I have to agree. If I were judging it, I'd take off a few points for spreadability. Those half ripe plums have a lot of pectin in them. So for the second batch I decided to play mad scientist and mess with the recipe, something every book and article will advise against.
I started with 8 cups of juice instead of 5 and a half. I added the same amount of dry pectin, then when I had reached the 7 and a half cups of sugar, I tasted the juice and decided to add another half cup. The first batch was very sweet, and I wanted to preserve some of the plum's natural tanginess. After boiling it a minute, I tested the jell, and it just didn't seem to be adhering to the spoon at all. I put it back on the heat for another minute, then lost my nerve. I didn't want to play with the recipe too much, and my objective was to make softer jelly. I went ahead and processed the jelly, ending up with 11 and a half half pints. I had another half pint that I put into a pint jar with a plastic cap, and just set aside for eating.
When the canning bath was done, I had 11 plus jars of runny plum goo. The instructions always say to resist tipping your jars to see if they're jelled at risk of ruining the seal. All the lids popped almost immediately, though I admit I fiddled with the jars. After a couple of hours, I had given up hope. It looked like I had a whole bunch of plum topping, and I began to think of ice cream sundaes, and look up recipes for crepes.
Later I read one of the Ball brochures, and it mentioned that it could take up to two weeks for the jelly to set. TWO WEEKS? How could anyone wait that long? I went back to check the jars, now cooled for 5 hours, and lo and behold.... they had all jelled. Whew! What a relief! I dreamed of plum jelly all night, and for breakfast enjoyed two slices of toast spread liberally with the leftovers from the fridge. Mmmmm.... just the right amount of tart plumness.